
How to machine knit full needle rib
/
Last time we talked about how to machine knit a 1 x 1 ribbing. Today's tutorial is about machine knit a "Full Needle Rib". What's the difference? 1 x 1 ribbing use every other needles in full pitch position (knitter and ribber needles collide when pull out), while full needle rib use every needle in half pitch position. 1 x 1 ribbing knit in one bed and slip in another bed, while full needle rib knit both knitter and ribber at each pass. So the full needle ribbing produces a denser fabric, even the cast on edge looks neat and not curling easily like in 1 x 1 ribbing. Playing with tension and yarn thickness so the carriage can pass easily. A thinner yarn makes it easier for full needle rib.
The of full needle rib process is very similar to the 1 x 1 ribbing except some settings.
Cast on for Full Needle Rib
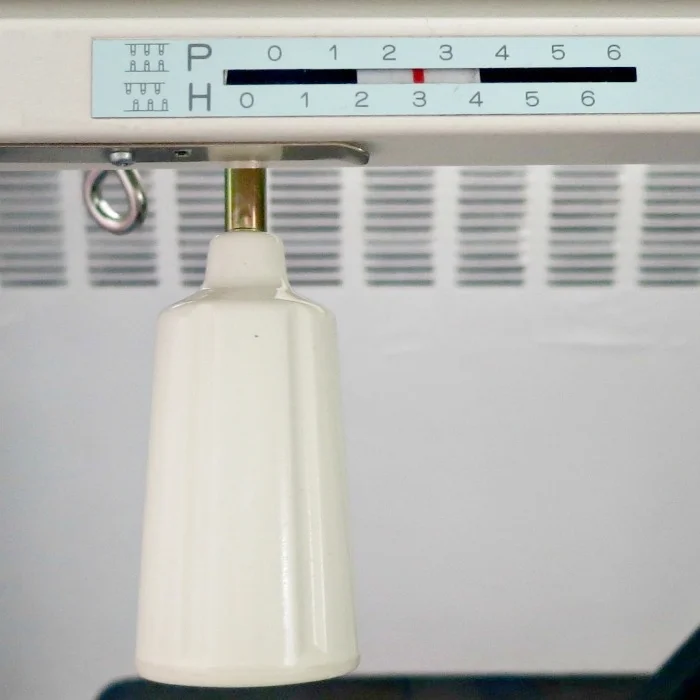
First, set the P. H. pitch indicator to H3 (half pitch).
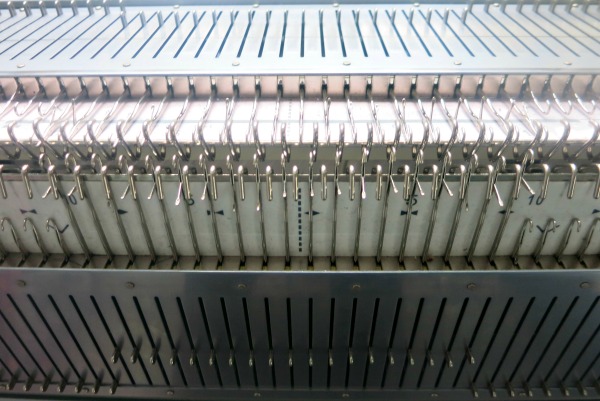
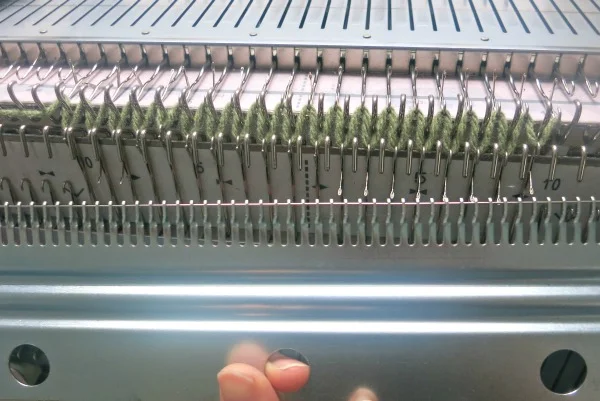
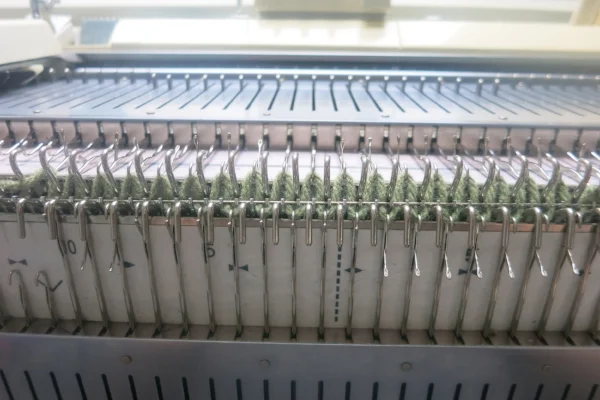
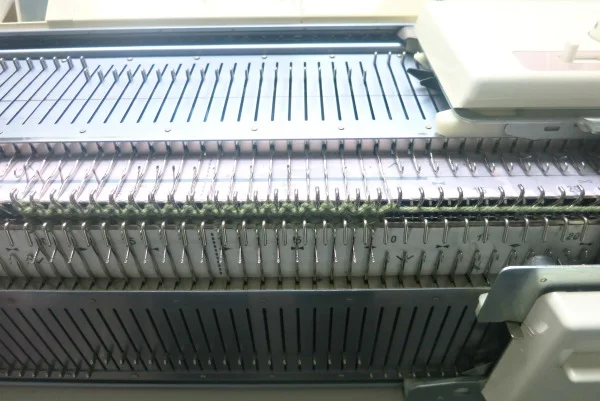
Arrange the needles as many as the width of the knitting requires. Pull them out to B position. Use every needles and not every other needles like in 1 x 1 ribbing. Make sure both end needles are on the Knitter. Run across carriage several times to make sure needles goes to B position. Carriage goes back to the right side. (see pictures below)
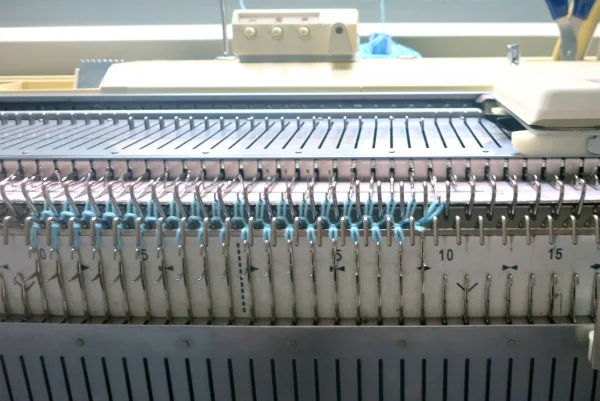
First row knitting
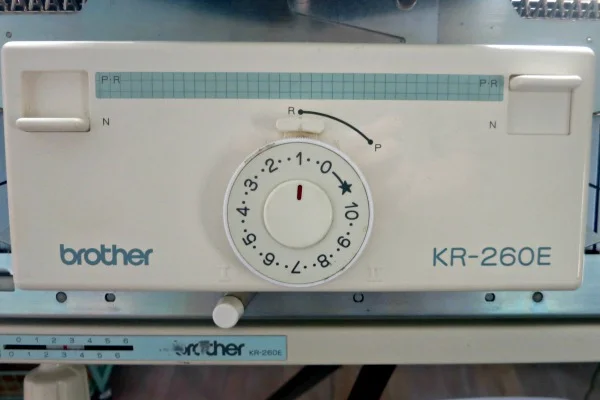
Set carriages
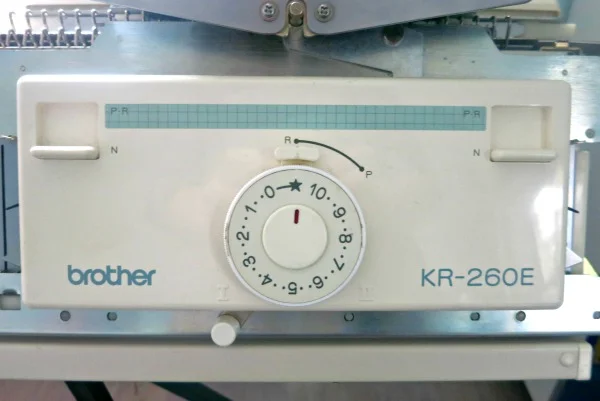
To knit the first zig-zag row, set both carriages as normal knitting with tightest tension. Knitter is Tension 0 or less, and Ribber is star on my Brother 260 bulky machine.
Knit the first zig-zag row
Thread the yarn, add a clip or cloth pin at the end of the hanging yarn to prevent getting caught later. Move the carriage to the left. The first zig- zag row is formed.
Hang cast on comb and weight
Hang the cast on comb and hang weights as in 1 x 1 ribbing. Refer to the chart on manual for suggested weight quantity.
Perfect Selvedge
Set carriages
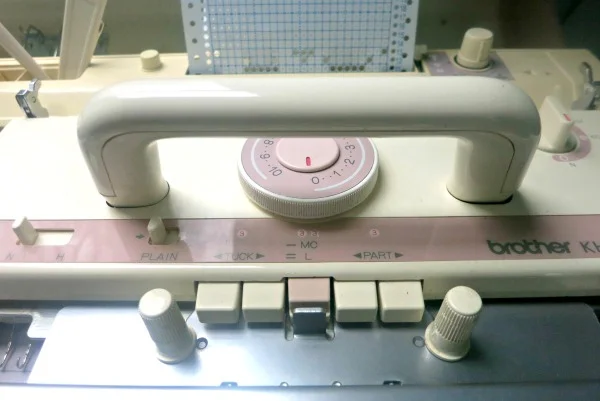
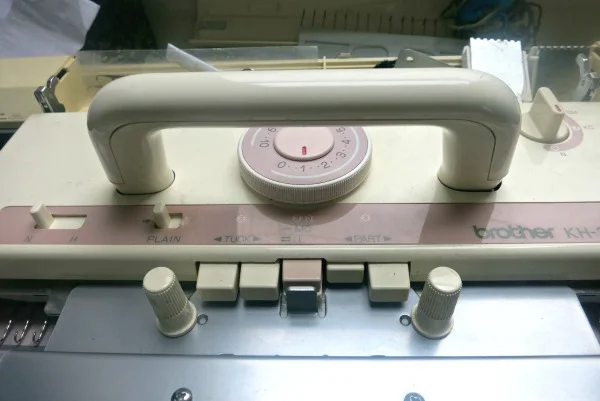
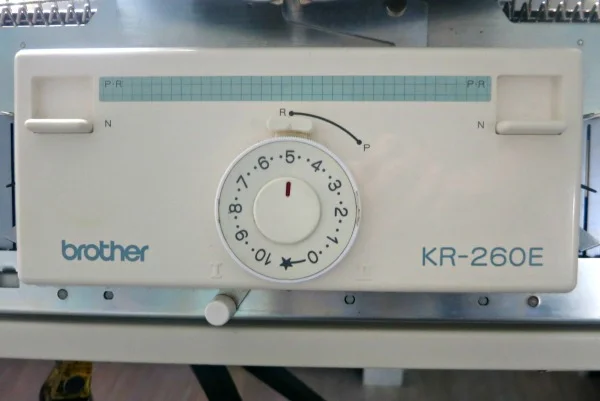
To knit the 3 rows of "perfect selvedge", set the carriages as follow:
Knitter: tension 1, left Part button pushed in. Ribber: tension 1, right P.R. button pushed up. (see picture below)
3 selvedge rows
First row: Move the carriage from left to right. Plain needle knits and ribber needle slipped.
Second row: Move the carriage from right tot left: Ribber needle knits and the knitter needle slipped.
Third row: Move the carriage from left to right again. Plain needle knits and ribber needle slipped. Same as the first row.
Full Needle Rib set up
Knitter setting: return to normal knitting (cancel partial knitting button), and set the tension dial to main tension of your choice.
Ribber setting: return to normal knitting (cancel P.R. button), and set the tension to main tension of your choice. I use 5 here for worst weight yarn.

Start knitting by moving the carriage back and forth. If it gets too tight, adjust the tension accordingly.
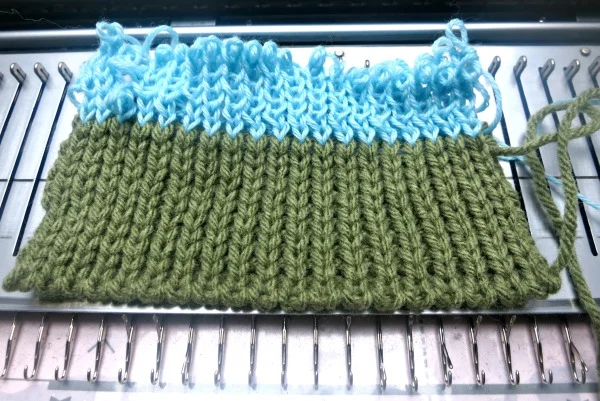
Knit with waste yarn and take off machine
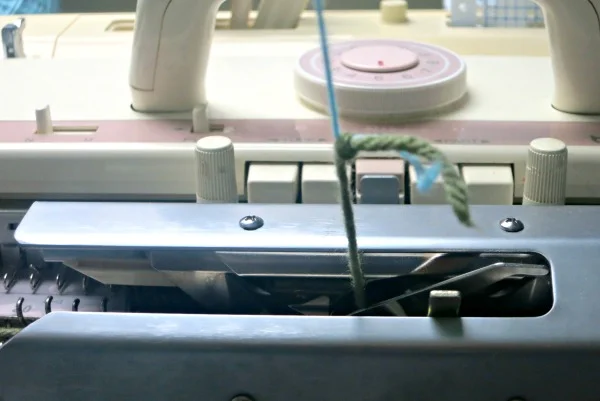
Change to a contrasting color yarn as waste yarn. You can cut the main yarn, thread the waste yarn through the tension mast, and tie up with the main yarn. (see picture below) Lower the ribber and grab the yarn from below. Hold the yarn or anchor the yarn with a clip, and knit several rows.
To take the knitting off the machine, make sure taking out the weights and cast on comb first. Cut the waste yarn and knit across.
I like the full needle rib fabric because it looks so neat and still stretchy. 1 x 1 ribbing tends to produce a waving cast on row, but not in full needle rib. I will definitely use Full needle ribbing more in the future.